
Last updated September 10, 2026
Full 25-point door and opener safety check with every visit - springs, cables, rollers, tracks, and your LiftMaster or Chamberlain opener included
You get a price before we start. It does not change when the truck arrives.
 Before
 After
After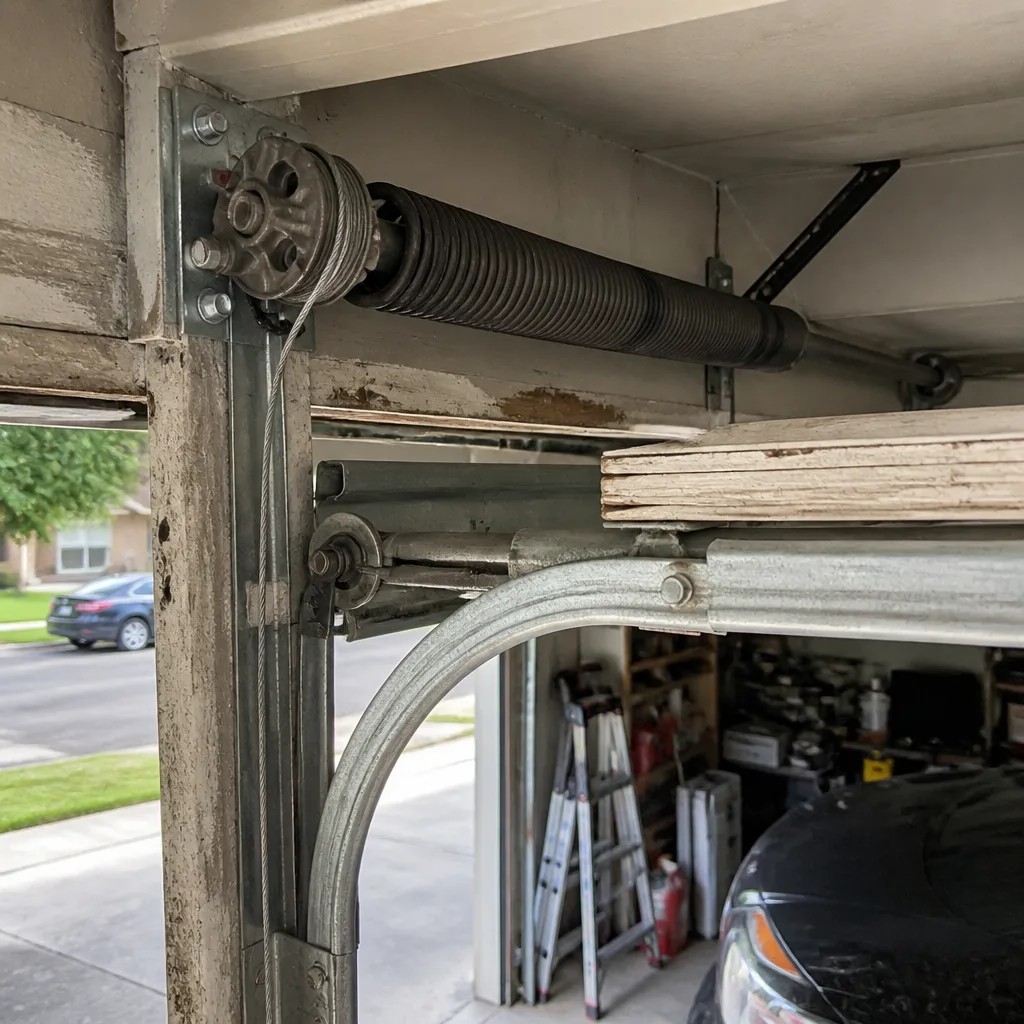 Before
 After
After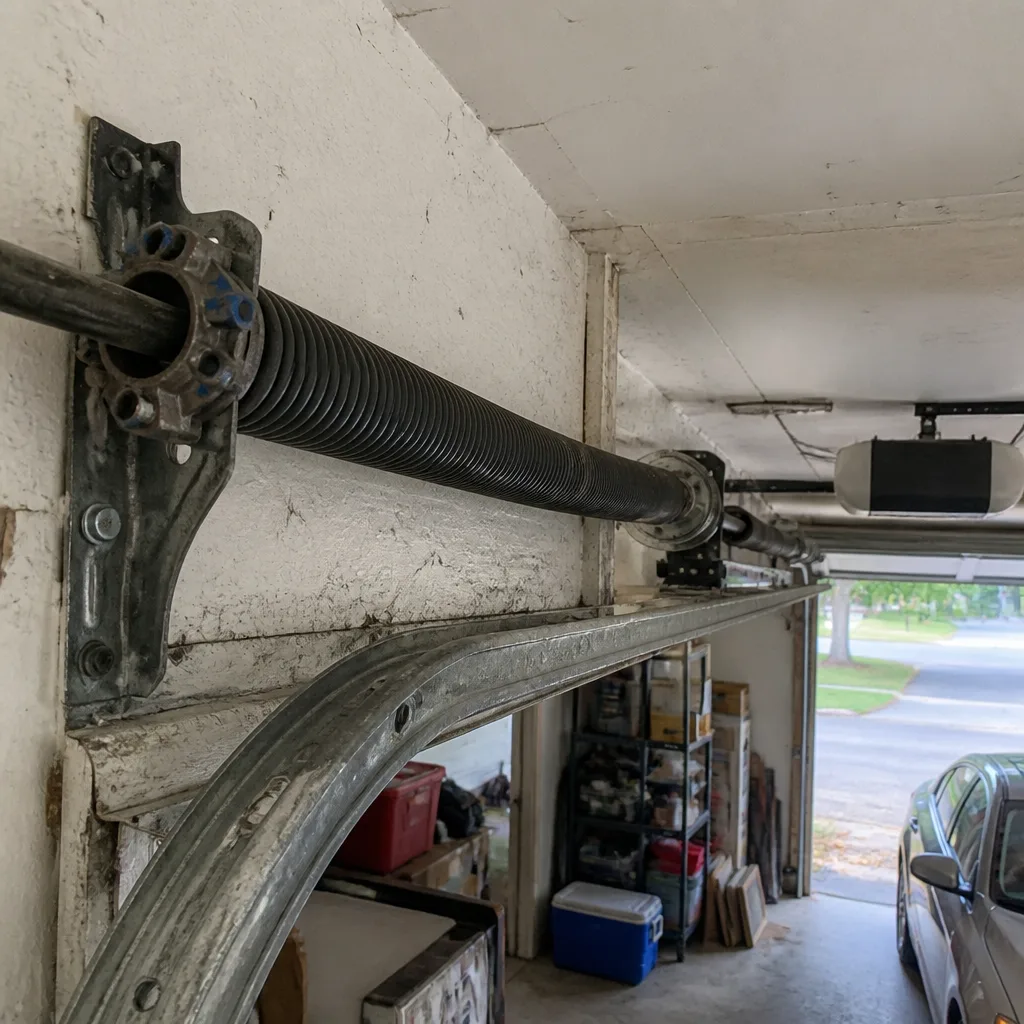 Before
 After
AfterGarage Door Repair Maintenance Checklist for Plano Homeowners
Otto has pulled apart hundreds of garage doors in Plano where the homeowner swore they kept up with maintenance, and almost every one had the same three problems nobody told them to check. The rollers were shot, the cables were fraying at the drum end, and the hinges were running dry with whatever spray lube was on sale at the big box store. Our Garage Door Repair guide fixes that. You’ll get the exact checklist Otto uses when he inspects a door in Collin County, broken down by season, with the specific products that survive a Texas August and the tests that take under four minutes. If you live in Plano, your door fights heat, humidity swings, and the occasional ice storm. Here’s how to stay ahead of all three.
Quick Answer
The smartest garage door maintenance routine for Plano homeowners is a twice-a-year inspection: once in March before the heat settles in, and once in November before the first freeze. Lubricate the rollers, hinges, and springs with a silicone-based lube that won’t gum up in 100-degree heat, check the cables for fraying at both ends, test the auto-reverse safety feature and photo-eye sensors, and listen for grinding sounds that mean a roller or bearing is failing. Most of this takes fifteen minutes and costs under twenty dollars. The parts you skip, especially cable wear and roller replacement, are the ones that turn into $400 emergency calls later.
Table of Contents
- The Seasonal Schedule: What to Do in March and November in Plano
- The Lubrication Guide: What Survives a Texas Summer and What Turns to Gum
- Safety Tests You Can Do in Under Four Minutes (and Why They’re Not Optional)
- Cable Wear: What Fraying at the Drum End vs. the Bottom Bracket Looks Like
- Roller Replacement: The Most Skipped Item on Every Homeowner’s List
- Spring Maintenance: What to Check Without Touching the Dangerous Parts
- Track Alignment and Hardware: The Fast Checks That Prevent Big Damage
- Common Mistakes to Avoid
- When to Call a Professional
- Frequently Asked Questions
The Seasonal Schedule: What to Do in March and November in Plano
Plano’s climate punishes garage doors in two distinct waves. Summer heat bakes the lubricant out of hinges and rollers, while winter cold snaps make metal contract and expose weaknesses that were invisible in October. A door that runs smooth in April can bind up in February because a hinge pin finally wore through a nylon bushing. The fix is simple: stop doing maintenance whenever you think about it, and start doing it on a schedule tied to the weather, not the calendar year.
March checklist, before the heat hits:
- Wipe down the tracks with a dry rag. Don’t use grease on tracks, ever. In Plano heat, grease on tracks attracts dust until it becomes grinding paste.
- Lubricate every roller, hinge, and both torsion springs with a silicone-based garage door lubricant. Hit the bearing plates at the ends of the torsion tube too.
- Run the door open and closed three full cycles. Listen for squeaks, grinding, or a rhythmic thumping that wasn’t there last year.
- Check the weather seal along the bottom and the vinyl trim around the sides and top. Summer rain in Collin County gets driven sideways in storms, and a cracked bottom seal lets water, dirt, and bugs into your garage.
- Test auto-reverse and photo-eye alignment. See the safety tests section below for the exact steps.
- Look at the cables while the door is closed. Get a flashlight and check both ends.
November checklist, before the first north Texas freeze:
- Re-lubricate everything. Cold weather makes old lubricant thick and sticky, so a fresh coating matters more now than in March.
- Inspect the weather seal again. If it’s cracked or flattened, replace it before ice forms against it.
- Check the opener’s force settings. Cold doors run heavier, and if your opener was already straining in October, it’ll fail when the temperature drops below freezing.
- Look for rust spots on hinges, springs, and track brackets. North Texas winter brings freeze-thaw cycles that turn small rust spots into structural weaknesses.
- Test the manual release handle. Disconnect the opener and lift the door by hand. It should move smoothly with one hand. If it doesn’t, you have a balance problem, which means spring trouble coming.
- Check that all shelf brackets, ceiling mounts, and track bolts are tight. Wood framing shrinks in winter and loose bolts get looser.
Otto’s rule is simple: fifteen minutes, twice a year, and you’ll never have a door that fails on a Tuesday morning when you’re late for work. For homeowners who want a deeper look at what a garage door repair in Plano actually involves when something does break, we’ve written a full guide covering common failures and their costs.
The Lubrication Guide: What Survives a Texas Summer and What Turns to Gum
Here’s the thing nobody tells you about lubricating a garage door in Plano. The can of white lithium grease you bought at the hardware store will work fine in March. By August, it’ll be a sticky, dust-caked mess that makes your door run worse than if you’d done nothing at all. Texas heat breaks down petroleum-based lubricants, and the dust from Collin County’s clay soil gets into everything. The right product matters.
What to use:
- Silicone spray lubricant designed for garage doors. Look for one that says “garage door” or “dry” on the label. Blaster and 3-IN-ONE both make versions that hold up in sustained heat.
- Lithium grease in a tube, applied sparingly to the torsion spring bearing plates only. It handles the heat better than spray lithium grease, but use it in small amounts.
- Dry graphite powder for the keyed lock if you have one. Wet lubricants in a lock collect dust and eventually seize the cylinder.
What to avoid:
- WD-40. It’s a solvent, not a lubricant. It strips the existing lube off and leaves bare metal. Openers and Springs hate it.
- White lithium grease spray. It works for about six weeks, then turns into glue in Plano’s summer heat.
- Motor oil or 3-in-1 household oil. It drips onto the door and attracts dirt faster than anything else.
- Grease on the track. Never. The rollers ride on ball bearings inside the track. Greasing the track itself just coats the wheels and turns the whole system into a dirt trap.
One more thing on squeaks. A door that squeaks after proper lubrication has a mechanical problem, not a lubrication problem. The most common cause Otto finds is a roller bearing that’s worn out, especially on doors with original rollers from the builder. In Plano, many homes from the 1990s and 2000s still have their original metal rollers with no bearings at all. They squeak because they’re dragging, not because they’re dry. More on that in the roller section below.
Safety Tests You Can Do in Under Four Minutes (and Why They’re Not Optional)
Since 1993, federal law has required every garage door opener sold in the United States to include an auto-reverse mechanism that stops and reverses the door if it hits something while closing. In Plano, where garages often serve as the main entry point for kids coming home from school, that safety feature is doing real work every single day. Most homeowners never test it. If you skip every other item on this list, don’t skip this one.
Test 1: The auto-reverse test (takes 30 seconds)
- Place a 2×4 piece of wood flat on the ground directly under the path of the door.
- Close the door using the opener.
- Watch what happens when the door hits the wood. It should reverse within two seconds of contact and go back up.
- If the door keeps pushing down or reverses slowly, your opener’s force settings are too high. This is a safety failure.
Test 2: The photo-eye test (takes 60 seconds)
- Start with the door open.
- Wave your hand or a broom handle across the beam between the two photo-eye sensors near the bottom of the track.
- Press the close button. The door should not move if the beam is broken.
- If the door closes anyway, clean the sensor lenses with a dry cloth and test again. If it still fails, the sensors are out of alignment or the wiring is damaged.
Test 3: The balance test (takes 90 seconds)
- Pull the red emergency release handle to disconnect the opener from the door.
- Lift the door halfway open by hand. A properly balanced door stays in place. It should not shoot up or fall down.
- Close the door back down. It should move smoothly without excessive effort.
- Reconnect the opener by pressing the wall button or pulling the release again.
The balance test isn’t a safety item by itself, but it tells you the health of your springs. A door that slams down when released has a broken or worn spring, even if it still opens and closes under opener power. That’s the most common setup Otto finds before a spring lets go entirely. The opener is doing all the work, which means it’s running at double its designed load and will fail early.
Do these three tests every March and November. Total time: under four minutes. Cost: zero dollars. They catch more problems than any product you can buy.
Cable Wear: What Fraying at the Drum End vs. the Bottom Bracket Looks Like
Garage door cables don’t just snap out of nowhere. They wear, strand by strand, over months or years. You can spot that wear with a flashlight and two minutes of looking. The trick is knowing where to look, and that depends on what kind of door you have.
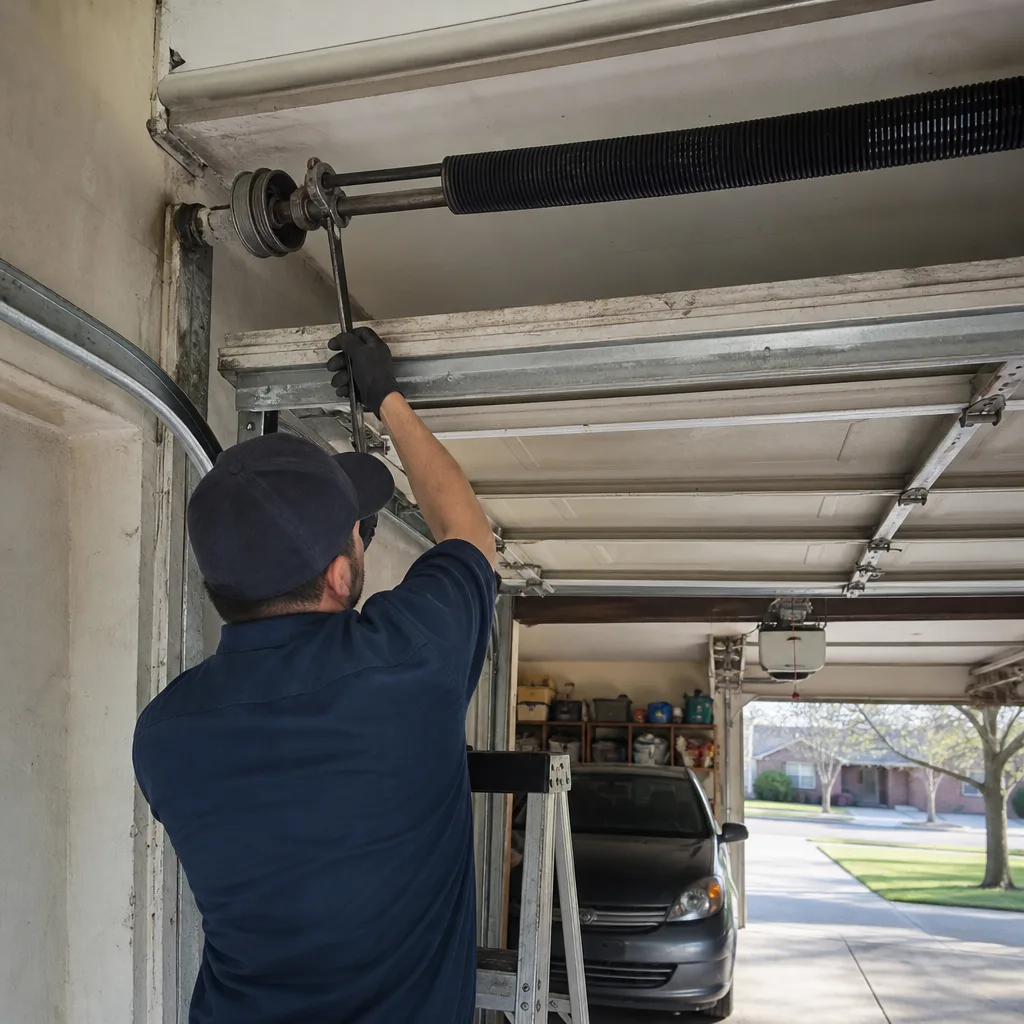
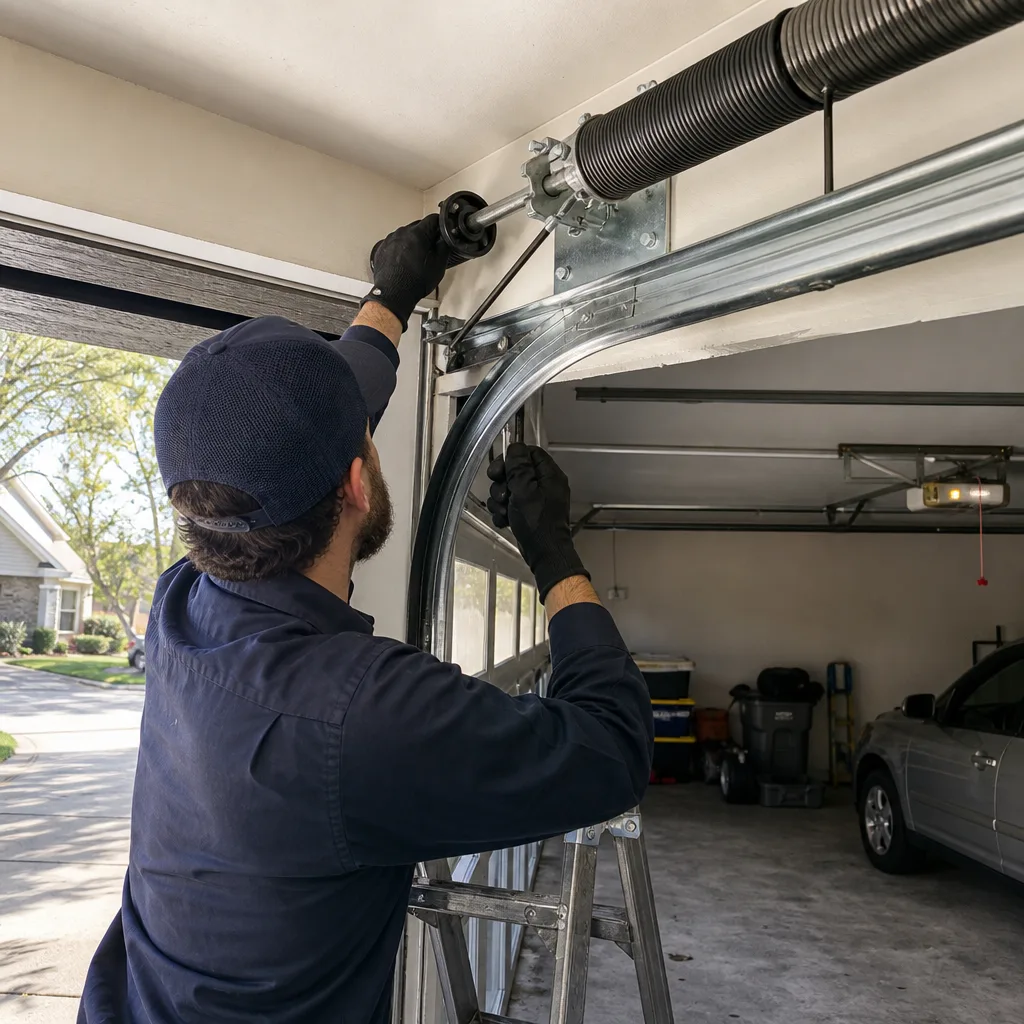
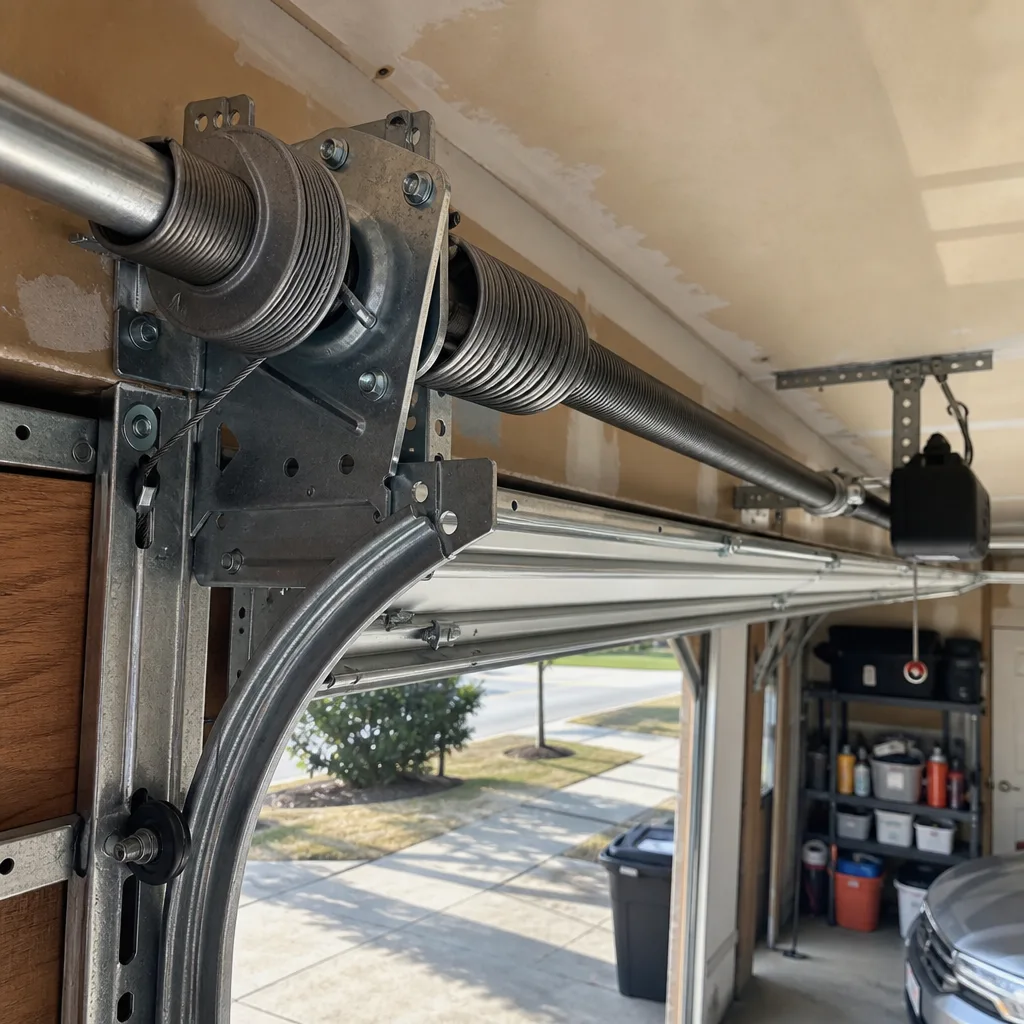
Most Plano homes have a standard torsion spring system with the spring mounted on a metal tube above the door. In that setup, the cables run from drums at each end of that tube down to brackets at the bottom corners of the door. Wear shows up at one of two places: the drum end where the cable winds and unwinds, or the bottom bracket end where the cable connects to the bottom corner of the door.
Drum end wear: As the door opens and closes, the cable wraps around the drum in a spiral. Over thousands of cycles, the cable rubs against itself where the coils touch. Fraying here looks like fuzzy threads sticking out from the cable where it enters the drum. You may see one or two broken strands, or a slight bulge where strands have separated. The cable will still look mostly intact, but it’s running on borrowed time. When a cable fails at the drum end, the door usually drops hard on one side, and whatever is under it takes the hit.
Bottom bracket end wear: Look at the bottom corner of the door where the cable attaches to the bracket. This is the point of maximum tension every time the door moves. Fraying here looks different: the cable flattens out near the loop, individual strands split away from the main bundle, or you’ll see rust staining that wasn’t there before. A cable with bottom-end fraying is more urgent than drum-end fraying because the bottom bracket is also the anchor point for the door’s full weight. When it fails here, it fails fast.
Which one is more urgent? Bottom bracket end. Always. The cable at the bottom bracket takes the shock load every time the door hits the ground, and the failure mode is catastrophic rather than gradual. Otto has pulled into Plano driveways where a cable snapped at the bottom bracket and the door came down at an angle, bending the track, breaking the hinges, and sometimes shattering a panel. That’s a $1,200 repair that started as a $12 cable.
Cable work is the one thing on this list you should never attempt yourself. The cables are under constant tension from the springs, even when the door is closed. Removing a cable without first releasing the spring tension can snap the cable back with enough force to remove fingers. This is trained professional territory, period. If you see any fraying at either end, call someone who does this every day. For Garage Door Warning Signs: A Plano Homeowner’s Reference Guide and same-day cable replacement, Otto’s Garage Door carries parts for LiftMaster, Chamberlain, Genie, Clopay, Amarr, Wayne Dalton, Craftsman, and Raynor doors, and we can usually get to Plano homes the same day.
Roller Replacement: The Most Skipped Item on Every Homeowner’s List
Ask any Plano homeowner when they last replaced their garage door rollers and you’ll get a blank stare. Otto has heard “rollers need replacing?” more times than he can count. The truth is, rollers are the hardest-working moving part on your door, and nobody thinks about them until one cracks mid-track and the door jams halfway open.
Your garage door has ten to twelve rollers, depending on whether it’s a single or double door. Each roller contains ball bearings sealed inside a wheel that rides in the track. Over time, the bearings wear out, the wheel develops flat spots, or the nylon outer shell cracks from heat exposure. In Plano’s summer, the heat accelerates every failure mode: bearings lose their lubricant faster, nylon gets brittle faster, and the constant expansion and contraction of the metal track puts extra stress on the wheels.
The cost of ignoring this? A failed roller doesn’t usually stop the door by itself. Instead, the wheel seizes and starts dragging instead of rolling. That puts uneven pressure on the track, which bends the track outward over time. The door starts running rough, then binding, then the opener’s force settings get pushed to their limit trying to muscle through the problem. By the time the door actually fails, the roller was ten dollars and the track damage is three hundred.
How to check your rollers:
- Disconnect the opener and run the door by hand. Listen for grinding or feel for rough spots. A worn roller feels like it’s clicking through the track instead of gliding.
- Look at each roller while the door is open. Flat spots on the wheel surface, cracks in nylon rollers, or wobble when you spin the wheel by hand are all signs of replacement.
- If you have metal rollers with no ball bearings, those are builder-grade and overdue for replacement. Plano homes built in the 1990s and early 2000s almost all have them.
Roller replacement is a job most homeowners can do themselves on the top and side rollers, but the bottom two rollers on each side sit in brackets under constant tension from the cables. Those require releasing spring tension, and that job belongs to a professional. If you’ve never replaced rollers before, start with an inspection and call someone you trust to do the work. Otto sees Plano doors every week where a full roller replacement would have prevented a $350 track repair, and he’ll tell you straight whether your rollers can wait or not. For details on when replacement needs to happen alongside new door work, our guide to garage door installation in Plano covers the full scope of what goes into a new door assembly.
Spring Maintenance: What to Check Without Touching the Dangerous Parts
A garage door spring is nothing to mess with. A torsion spring holds enough stored energy to lift a 200-pound door, and when it snaps, that energy releases all at once. People have died trying to remove springs without the right tools and training. So this section tells you what to look for, not what to do. If you find a problem, the next step is a phone call, never a wrench.
Torsion springs have a lifespan measured in cycles, not years. A standard builder-grade spring lasts about 10,000 cycles, which for most Plano homes works out to eight to twelve years of normal use. Higher-cycle springs rated at 20,000 or 30,000 cycles last proportionally longer. Otto counts spring cycles the way you count tire miles. If your house was built in 2010 and still has the original spring, you’re running on a worn-out set right now, even if the door still works.
What to check, safely, with the door closed and your hands off the spring:
- Look for a visible gap in the spring coils. If the spring is broken, you’ll see a separation in the coil where the break happened. The door may still open because the other spring is carrying the load, but the system is running on half its designed strength.
- Look for rust. Rust on a spring is a sign of surface wear. More importantly, rust inside the coils accelerates metal fatigue. A heavily rusted spring is closer to failing than a clean one, even at the same cycle count.
- Listen when the door runs. A sharp “bang” or popping sound when the door starts to move often means the spring is binding or the bearing plates at the ends are failing.
- Test the balance. Run the balance test from the safety section above. A door that won’t stay in place is a door with spring problems.
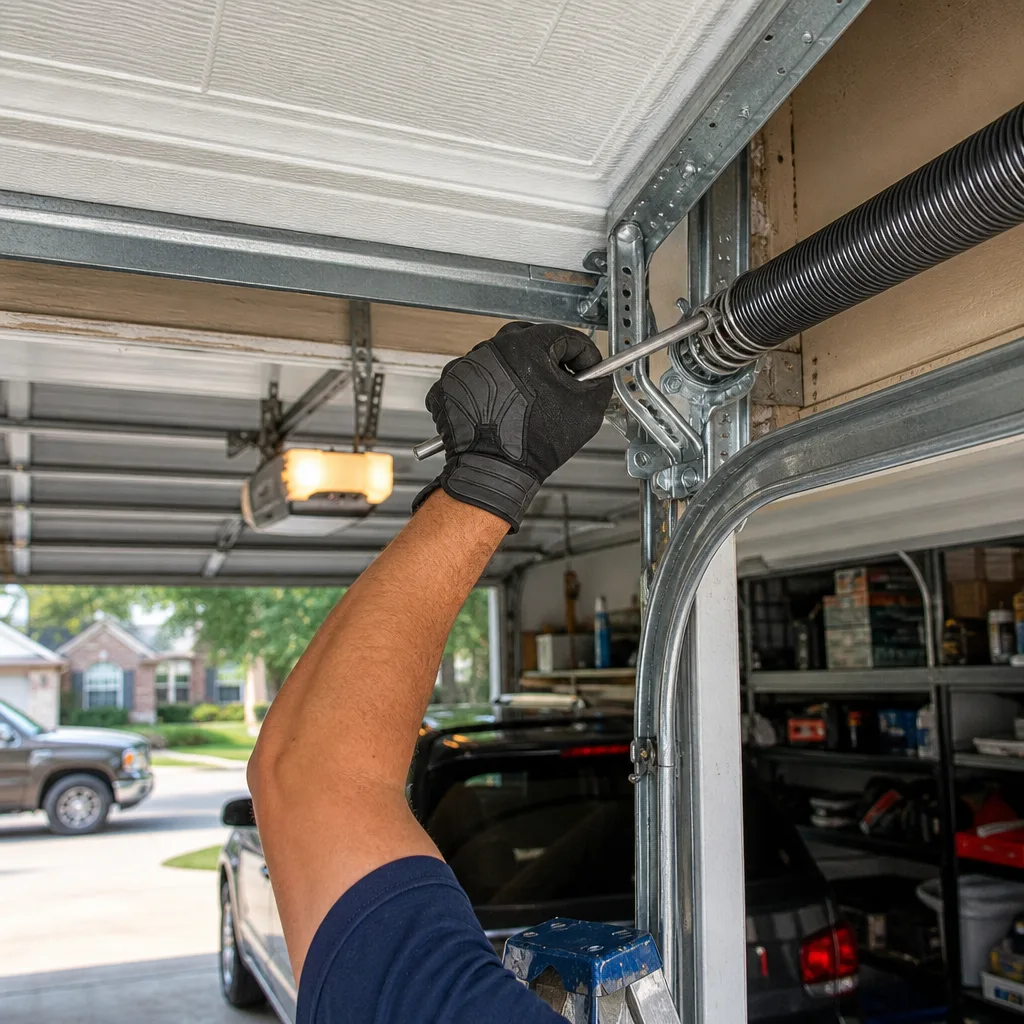
If you find a visible gap, don’t try to open the door by hand and don’t disconnect the opener. Leave the door where it is and call a professional. A broken spring under tension can cause the cable to whip loose, and you don’t want to be standing anywhere near that. Otto’s crew replaces springs on Plano doors every single day, and the job usually takes under an hour with the right parts on the truck. The springs are under tension, the people doing the work are trained, and nobody gets hurt. That’s how it should work.
Track Alignment and Hardware: The Fast Checks That Prevent Big Damage
Tracks don’t fail suddenly. They bend gradually, usually because a roller seized, a hinge broke, or a car bumper tapped the track in the dark. Each small bend makes the next one worse, until the door finally jumps the track and hangs sideways. That failure is expensive and avoidable.
The five-minute track and hardware check:
- Look at the gap between the roller and the track. It should be even all the way around. If a roller is pinched on one side or floating free on the other, the track is out of alignment.
- Check for shine marks or scratches on the inside of each track. Marks mean a roller is dragging instead of rolling, which means a bearing is failing.
- Inspect every bolt and bracket. On a ladder, check the brackets that hold the track to the wall and the bolts that hold the horizontal track to the ceiling. Hand-tight is not tight enough.
- Look at the hinges. Each panel connection should be tight, with no play when you push on the door. Loose hinges let panels flex, which twists the track over time.
- Check the vertical track spacing. The track should be the same distance from the door frame at the top and bottom. In Plano, where slab foundations shift with the clay soil, a door that was perfectly aligned in 2005 may now be a quarter-inch off because the garage floor moved slightly.
None of these checks require tools, and any one of them can catch a problem early. If you find a track issue that’s more than a loose bolt, don’t try to bend the track back yourself. Track work requires releasing spring tension and realigning the whole door system. It’s a two-person job with proper equipment, and getting it wrong turns a $150 adjustment into a $900 door replacement.
One more note on openers in this context. If your opener has been running louder, starting slower, or stopping at odd positions, the problem may not be the opener at all. A door that’s out of alignment forces the opener to work harder, which shortens its life by years. Otto has replaced openers on Plano homes where the actual problem was a track issue the homeowner never saw. Before you replace a garage door opener in Plano, have someone check the door itself. It saves money more often than most people expect.
Common Mistakes to Avoid
- Greasing the track. Grease on the track attracts Collin County dust and creates grinding paste. The rollers have bearings inside; they don’t need track lubrication. Ever.
- Using WD-40 as a lubricant. It’s a solvent. It strips the good lubricant off and leaves metal bare. Use a silicone-based garage door lubricant instead.
- Skipping the safety test because “the door’s always worked fine.” Opener force settings drift over time, and a door that reverses slowly in March will fail the test by November. The test takes 30 seconds.
- Ignoring a squeak because it’s not “broken yet.” Squeaks mean friction. Friction means wear. The time to find the squeak is the first time you hear it, not when the door stops moving.
- Replacing the opener before checking the door. Openers fail early when they’re fighting a door with bad rollers, bent tracks, or weak springs. Fix the door first, and the opener may last another five years.
- Doing maintenance by the calendar instead of by the weather. Plano’s freeze-thaw cycles and 100-degree summers create different failure patterns than generic maintenance schedules assume. Adjust for what’s actually happening outside your door.
- Trying to replace cables, springs, or bottom rollers without training. The cables and springs are under lethal tension. Three items on this list fall into the “look but don’t touch” category. When in doubt, call someone who does this work every day.
When to Call a Professional
Some garage door problems are safe to fix yourself: lubricating, cleaning tracks, replacing weather seals, tightening bolts, and testing safety features. Others are genuinely dangerous. If you see a gap in your torsion spring, call a professional. If your cable is fraying at either end, call a professional. If a bottom roller needs replacement, call a professional. If your door is off the track or hanging unevenly, call a professional. The common thread is tension: springs and cables are energized even when the door is closed, and releasing that tension without proper tools and training can kill you. Respect that line, and see How to Hire a Garage Door Contractor in Plano: A Step-by-Step Guide if you need help choosing the right pro.
Otto’s Garage Door offers free estimates in Plano, and Otto will tell you straight whether a problem is a do-it-yourself job or a don’t-touch-it job. Call (945) 215-6820 and you’ll get a live person, not a menu, and a price quoted on the phone that won’t change when Otto gets to your driveway. For a broader look at what repairs cost and how they’re handled, start with our main page on garage door repair in Plano.
Frequently Asked Questions
Twice a year is the right schedule for Plano’s climate: once in March before the summer heat and once in November before winter cold. Use a silicone-based garage door lubricant on the rollers, hinges, and springs each time, and wipe down the tracks with a dry rag before you spray. Don’t use grease on the tracks. If your door still squeaks after proper lubrication, you likely have a worn roller or bearing, not a lubrication problem.
A can of silicone garage door lubricant costs about $8 to $14, a replacement weather seal runs $15 to $30, and a set of basic hand tools covers everything else. The full self-maintenance routine costs under $50 a year for most Plano homeowners. The parts you should not attempt to replace yourself, including springs and cables, require a professional call because they’re under dangerous tension. Call (945) 215-6820 for an exact quote, estimates are free.
You can replace the top and side rollers yourself if you’re comfortable working on a ladder and the door is properly secured. The bottom two rollers on each side sit in brackets under spring tension and require releasing that tension to replace safely. Attempting that without training is dangerous. A door is 200 pounds riding on two springs; respect it. If you’re not sure which rollers are safe to replace, call a professional for an assessment.
Builder-grade torsion springs last about 10,000 cycles, which for most Plano homeowners works out to eight to twelve years. In Plano’s heat, poorly maintained springs can fail sooner because rust accelerates metal fatigue inside the coils. Higher-cycle springs rated at 20,000 or 30,000 cycles cost more upfront and last proportionally longer. If your house still has original springs from the 1990s or early 2000s, you’re overdue for replacement even if the door still works.
The most common problem Otto finds is worn rollers that have never been replaced. Plano homes built in the 1990s and early 2000s typically still have builder-grade metal rollers with no ball bearings, and by now they’re dragging instead of rolling. That causes track damage, makes the opener work harder, and eventually leads to a door that binds or jams. Roller replacement is the single most skipped maintenance item on the list, and it costs homeowners more in track repairs than the rollers would have cost to replace.
No. Otto quotes the job on the phone and holds that number when he gets to your driveway. The price you’re quoted is the price you pay, unless the inspection finds something additional that you didn’t mention, and Otto will show you exactly what he found and get your approval before doing any work. No surprises at the door, no invoice bigger than the quote. Call (945) 215-6820 for a free estimate and see the difference yourself.
The Bottom Line
A garage door in Plano needs two fifteen-minute maintenance sessions a year: one in March before the heat, one in November before the freeze. Lubricate with silicone, test the safety features, inspect the cables, check the rollers, and tighten the hardware. Skip the things that shouldn’t be DIY: cables, springs, and bottom rollers are under dangerous tension and belong to a professional. Most doors fail because of maintenance items that were skipped, not because the door was old. Regular attention costs under $50 a year and prevents the $400 emergency calls. For more guides & resources, visit our blog.
Otto’s Garage Door has been serving Plano since 2004, locally owned and owner-operated from the first call. A live person answers the phone 24/7, Otto quotes on the call and holds the price at the door, and every job carries the 90-Day Done Right Promise in writing. Seniors and veterans always save 10%. Call (945) 215-6820 for a free estimate or a second opinion on any written quote, and see the Otto’s Garage Door home page to learn more about who you’re calling.
Written by Otto Reinhardt, Owner at Otto’s Garage Door, serving Plano since 2004.